Using the Marketplace
Overview
The Swiftor Marketplace is a central hub for discovering and installing pre-configured software packages, tools, and exploits (referred to as "payloads" or "exploits" interchangeably) directly onto your Swiftor Virtual Machines (VMs). You can browse, search, filter, view detailed information including proof-of-concept (POC) guides, install payloads, and report any issues.
Browsing and Finding Payloads
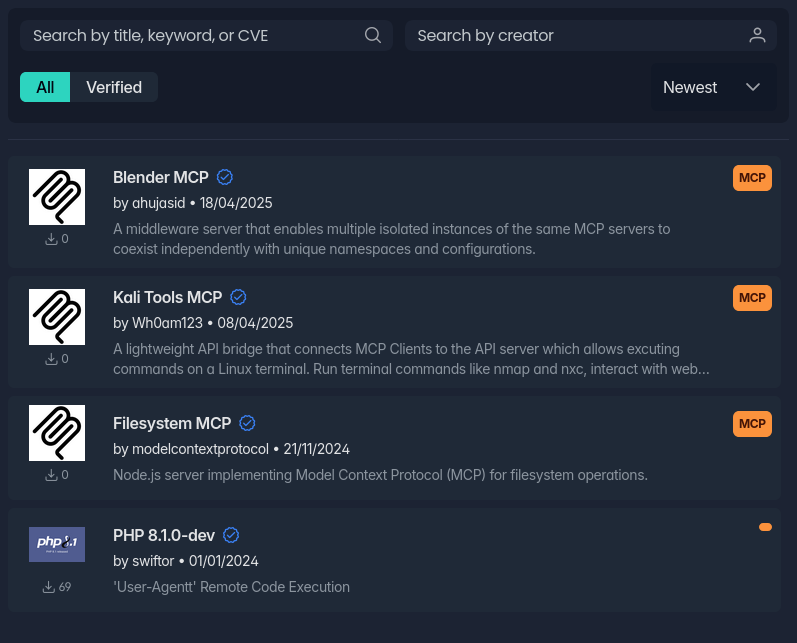
The main Marketplace view displays a list of available payloads.
Searching
Use the search bars at the top to quickly find specific payloads:
- Search by title, keyword, or CVE/Tag: Enter terms related to the payload's name, description, or associated tag (like CVE number or functional tags like "MCP").
- Search by creator: Filter payloads by the author's username.
Filtering and Sorting
Refine the list using the controls below the search bars:
- Verification Filter:
All: Show all payloads.Verified: Show only payloads marked as verified by the Swiftor team.
- Sort By: Arrange the list by:
Newest(Default)OldestTop DownloadsRandom
Viewing Payload Details
Clicking on a payload card in the list opens its detailed view.
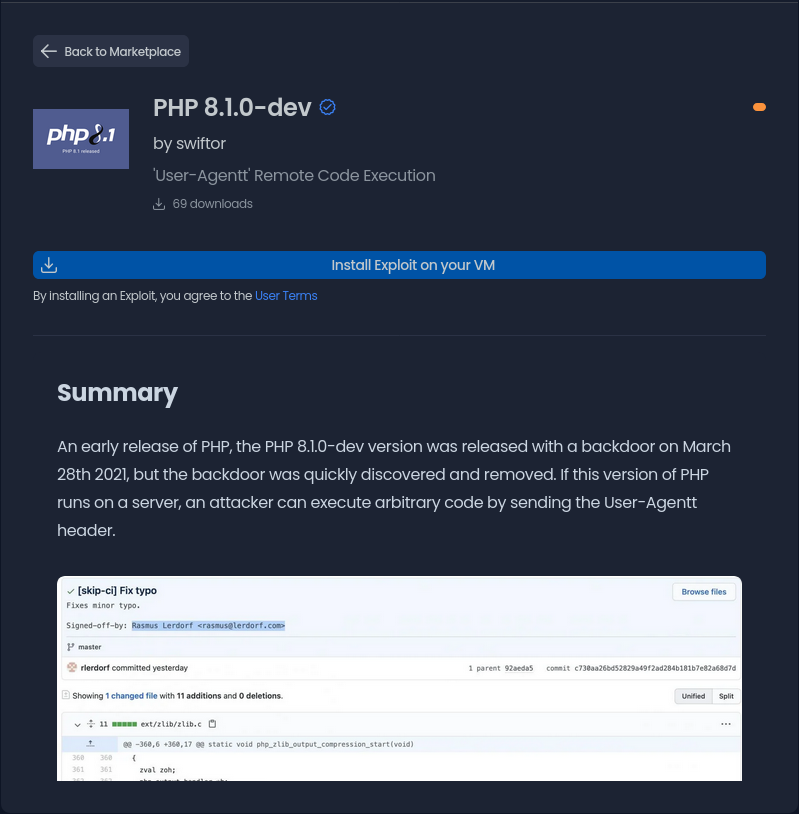
This view provides comprehensive information:
- Header: Shows the payload's logo, title, verification status, associated tag/CVE, author, and a brief description.
- Downloads: Displays the total number of times the payload has been downloaded/installed by users.
- Install Button: Initiates the installation process.
- Proof-of-Concept (POC) / Readme: A detailed section, often formatted using Markdown, explaining the payload's purpose, usage instructions, features, or exploit details. This section can include text, code blocks, images, and embedded videos.
- Community Safety: Contains a button to report the payload if you find issues.
Installing Payloads
- Initiate Installation: Click the "Install Exploit on your VM" button in the detail view.
- Select VM: A dialog box will appear, listing your available VMs. It may take a moment to load your VM list.
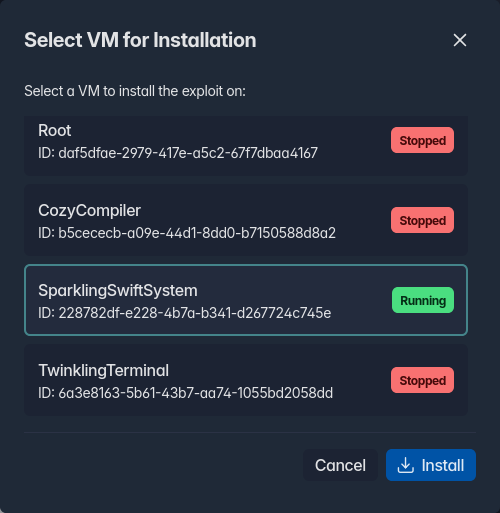
- The dialog shows each VM's label, ID, and current status (Running/Stopped).
- Select the desired target VM by clicking on its card.
- Confirm Installation: Click the "Install" button in the dialog.
Installation Process
- The destination depends on the payload type:
- Standard Payloads: Files are copied from the central repository to the VM's
Desktopdirectory (storage/vms/{vm_id}/Desktop/{payload_id}). No commands are executed automatically. - MCP Payloads (Tagged as "MCP"): Files are copied to the VM's
/config/mcp/servers/directory (storage/vms/{vm_id}/mcp/servers/{payload_id}). If the target VM is running, the system will synchronously execute anentrypoint.shscript located within the payload's directory inside the container. Ensure the VM is running if this execution step is required, and be aware the API call will wait for this script to finish. - Persistent Applications (Tagged as "APP"): No files are copied. If the target VM is running, the system will initiate a background process inside the container to install the application (using
swiftly install).
- Standard Payloads: Files are copied from the central repository to the VM's
Manual App Installation
You can also install APP tagged applications manually directly from within the VM's command line using the swiftly install {app_name} command. See the Shell Access documentation for details on connecting to your VM's shell.
- A success or error notification will appear.
User Terms
By installing a payload, you agree to the Swiftor Marketplace User Terms.
Reporting Abuse
If you encounter a payload that is malicious, non-functional, or violates terms of service:
- Navigate to the payload's detail view.
- Scroll down to the Community Safety section.
- Click the "Report Exploit" button.
- A dialog box will appear. Enter a clear description of the issue.
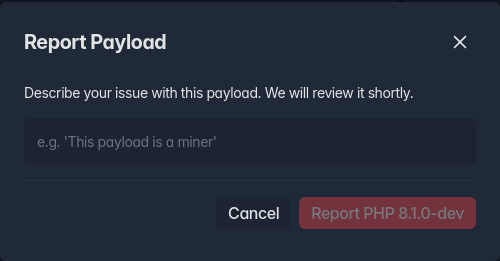
- Click the "Report {Payload Title}" button to submit.
The Swiftor team will review your report.